
Profile Perfect Level 268 Answer
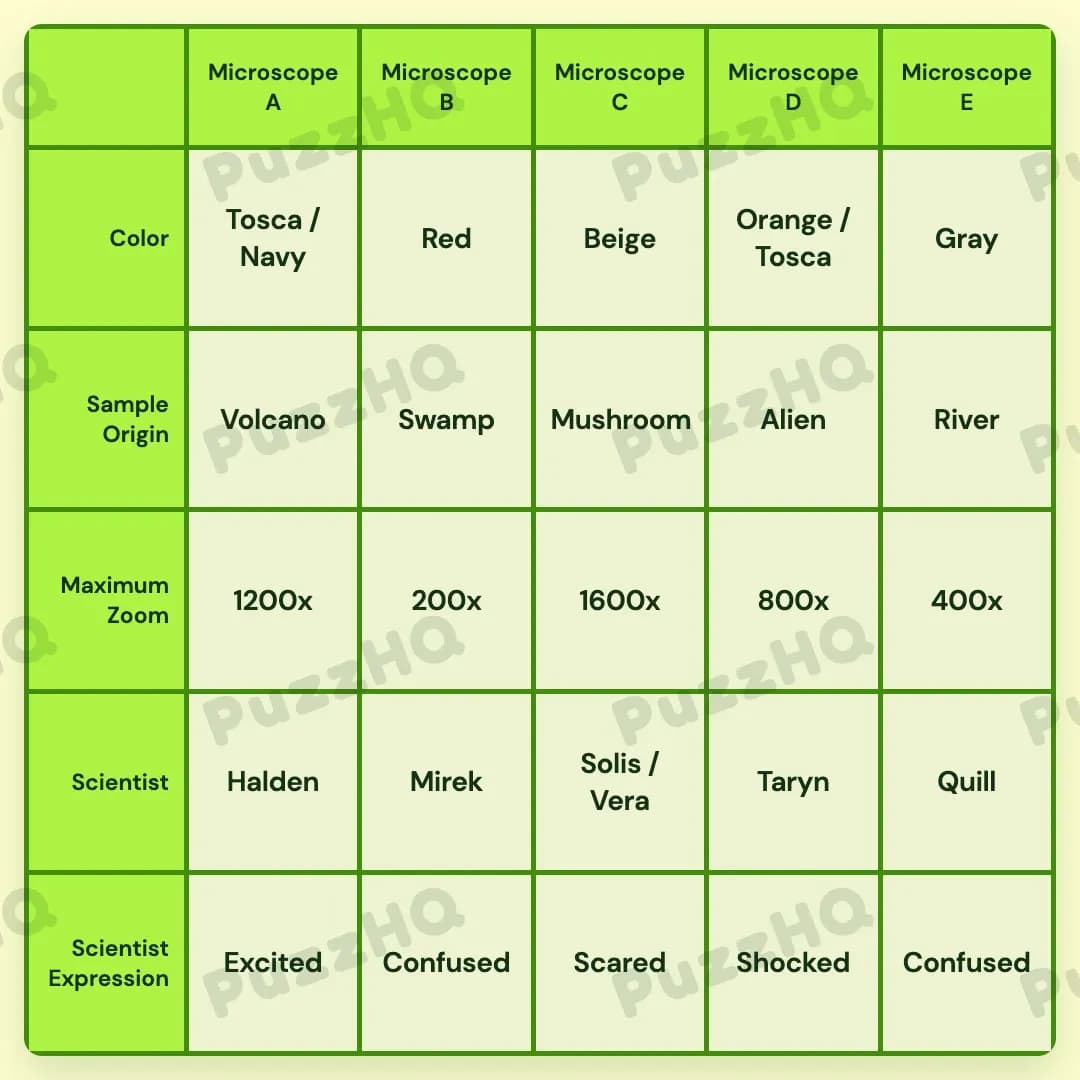
The research lab layout is fully determined by tracking scientist positions, zoom powers, and multi-colored microscope casings across the five stations.
| Trait | Microscope A | Microscope B | Microscope C | Microscope D | Microscope E |
|---|---|---|---|---|---|
| Color | Tosca / Navy | Red | Beige | Orange / Tosca | Gray |
| Sample Origin | Volcano | Swamp | Mushroom | Alien | River |
| Maximum Zoom | 1200x | 200x | 1600x | 800x | 400x |
| Scientist | Halden | Mirek | Solis / Vera | Taryn | Quill |
| Scientist Expression | Excited | Confused | Scared | Shocked | Confused |
How I Solved Profile Perfect Level 268
The first thing I noticed was the direct positional clue about the rightmost station, which immediately anchored the far right edge and triggered a sequence of deductions across the entire row.
Anchoring The Ends And Placing The Scientists
I started with the clue stating that the rightmost microscope is Gray, locking Gray onto Microscope E. Right alongside that, another clue mentioned that an otherworldly sample was directly to the left of the Gray microscope. That immediately placed the Alien sample on Microscope D.
Next, I looked at the clue saying a sample sits between the Swamp and Alien samples. Since Alien was fixed at Microscope D, the sample in between had to be at Microscope C, which forced the Swamp sample onto Microscope B. Another clue told me that Mirek collected the sample from dark murky water, assigning Mirek to the Swamp at Microscope B.
From there, the scientist row opened up. I read that collaborating scientists sat between Mirek and Taryn. With Mirek at Microscope B, the collaborating pair had to be at Microscope C, which forced Taryn into Microscope D. Looking at the remaining scientists, Solis reviewing her subordinate's work pointed to the collaboration at Microscope C, giving that station Solis / Vera.
Zoom Levels And Middle Expressions
The middle station quickly revealed more details. One clue noted that scientists fear the result of the middle test, giving Microscope C the Scared expression.
I then turned to the zoom ratings. A clue stated that the microscope with the biggest zoom was two columns to the right of Halden. The only way for Halden and the highest magnification to have two columns between them was to place Halden at Microscope A, which put the maximum zoom of 1600x at Microscope C.
With Halden at Microscope A, the only remaining scientist spot for Microscope E went to Quill.
Zoom values then fell into order. Microscope B was noted as the least capable, so it took 200x. Another clue stated that one of Microscope B's neighbors had triple the zoom of Microscope E. B's neighbors were A and C. Since C was already 1600x (which is not a multiple of three from any standard power here), Microscope A had to be the triple. With Microscope E at 400x, three times that gave Microscope A exactly 1200x. That left the remaining zoom rating of 800x for Microscope D.
Finishing Colors And Sample Origins
Color placement became very straightforward once the scientists and positions settled. I knew the Orange microscope was used by the scientist next to Quill. Since Quill was at Microscope E, Microscope D had to be Orange. A clue mentioned that both multi-colored microscopes feature Tosca, so Microscope D became Orange / Tosca.
Another clue stated that peeking at the Orange microscope causes a scientist's eyes to pop, setting Taryn's expression at Microscope D to Shocked.
I then used the clue stating that the Red microscope sits between Beige and Tosca. Because Microscope B was between A and C, Microscope B took Red, Microscope C took Beige, and Microscope A took the second multi-colored combination containing Tosca, which was Tosca / Navy.
That left only the remaining sample origins and expressions. One Tosca microscope looked at the Volcano sample, which placed Volcano at Microscope A. A clue ruled out Fungi being the farthest from Halden, meaning the Mushroom sample belonged at Microscope C rather than E, leaving River for Microscope E. Finally, Halden at Microscope A took Excited, while Microscope B and Microscope E received Confused to finish the grid.
The Point Where I Nearly Went Wrong
The relationship involving Microscope B's neighbor and Microscope E's zoom power is easy to rush. Microscope B has two neighbors: Microscope A and Microscope C. If you glance at it quickly without checking the maximum zoom placement, you might try multiplying 1600x or assigning arbitrary numbers to Microscope E. Locking down the highest zoom at Microscope C first makes it clear that Microscope A must be the one holding triple the zoom of Microscope E.
Looking Back At The Solution
Placing the Alien sample directly next to the rightmost Gray microscope was the critical breakthrough. It quickly forced the Swamp sample, settled Mirek and Taryn into their columns, and allowed the zoom math to resolve cleanly across the rest of the board.
Comments