
Colony Flow Level 1027 brings a serious test of patience and tray management. You face a detailed pixel art piece with multiple layers of warm tones, thick borders, and tricky blockers. With careful planning and strict attention to your open paths, you can clear every single tile without ever locking up your waiting slots.
Colony Flow Level 1027 Overview
What You Are Working With
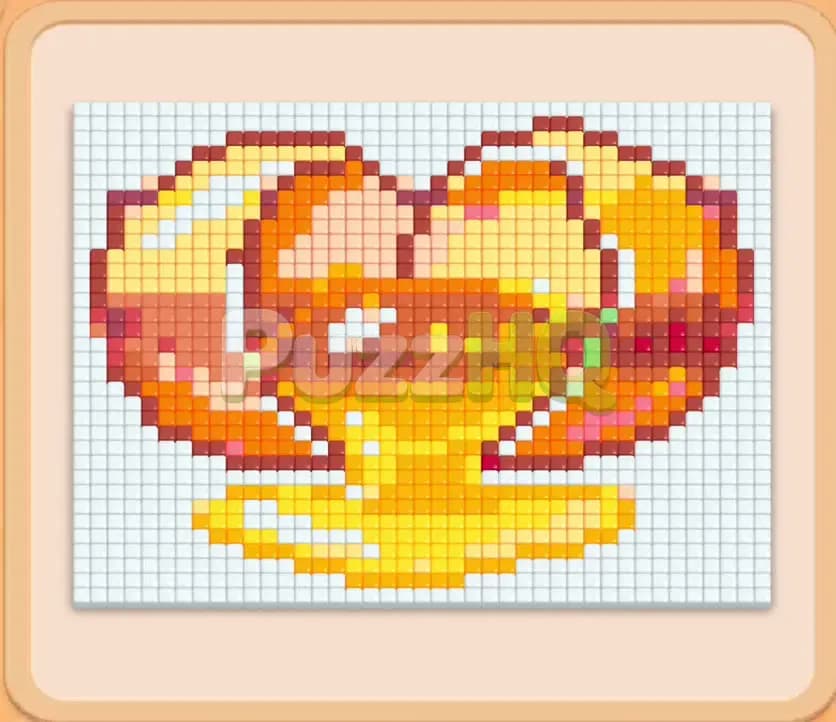
When you load into the board, the top display presents a rich food picture shaped like a glowing golden heart with melting syrup dripping from the bottom. The artwork uses several distinct shades of food tiles. You will see pure white tiles framing the background and edges, bright yellow tiles forming the syrup drip and inner glow, vibrant orange filling the mid tones, and deep red along with dark crimson defining the outer curves and shadows.
Beneath the canvas sits the open play area where your ant colony leaves their underground nest hole and marches upward along free paths. At the bottom of your screen sits the resource tray topped by five blank waiting slots. Your tray starts packed with numbered colored blocks. In the front row, you have white, yellow, pink, dark red, and white blocks ready to draw.
Behind these starting blocks sit rows containing special obstacles unique to this layout. You will encounter Hidden Boxes marked with question marks that keep their internal colors secret until you free them up and give them a valid path to move forward. You will also see Connected Boxes linked together by a solid bridge. These linked boxes move as a collective pair, which means clearing one end demands that you handle the entire formation without clogging your five waiting slots.
What It Takes to Clear Level 1027 Board
Winning this level requires you to erase every pixel tile from the top canvas until the board is completely empty. Each ant leaves the nest, takes color from an active block in your waiting slots, and walks directly to a matching tile on the board to devour it. As the ants consume the artwork, the countdown numbers on your active blocks tick downward until they reach zero and disappear.
Your main danger is the five slot limit. If all five waiting slots fill up with blocks whose colors cannot find matching exposed food tiles on the artwork, the entire ant trail freezes. Once the march stops and no ants can feed, you fail the level immediately. Success depends on drawing blocks that match tiles currently exposed on the outer surfaces of the picture, gradually stripping away layers to expose the colors needed for whatever blocks you have waiting below.
Colony Flow Level 1027 Step by Step Solution
Step 1: Open the board by clearing the wide white border tiles
Your first priority is to clear away the plain white boundary tiles that frame the lower sides and outer edges of the food artwork. Tap the large white block sitting on the left side of your front tray row. This block enters your first waiting slot and starts its countdown from fifty. A swarm of white worker ants immediately pours out of the central nest hole, marching up along the left flank to eat away the white background squares. While those ants work, pull the yellow block with count twenty eight into the second waiting slot so ants can begin eating the exposed yellow puddle at the base of the syrup drip. Keeping these two colors active simultaneously clears the entire bottom border, widening the walking lanes and revealing the underlying orange and red shapes without crowding your five slot ceiling.
Step 2: Uncover the lower mystery boxes and tackle the dark red frame
With the bottom white border stripped clean, tap the dark red block carrying count thirty from the right side of your front row. This dark red block enters your waiting line, sending crimson ants straight toward the lower curved edges of the heart. As the dark red tiles vanish from the canvas, the first row of Hidden Boxes in your tray gains room to slide upward. These mystery boxes reveal their hidden pigments, turning into usable numbers of yellow and light peach. At the same time, tap the pink block with count thirteen. The pink ants quickly strip the small pink accent dots nestled inside the inner fold of the artwork. Clearing out these small clusters ensures that low count blocks vanish quickly from your waiting slots, keeping at least two or three slots open for unexpected colors.
Step 3: Manage the connected dark red boxes without clogging your slots
Now you face the Connected Boxes linked across the middle rows of your tray, joined by a rigid red bar. You must not pull these linked boxes until their matching dark crimson and brown tiles are fully exposed and accessible on the upper canvas. Work through the newly revealed orange blocks first, drawing count twenty and count twenty five into the waiting line. Orange ants stream toward the center of the heart, eating away the warm meat of the illustration and uncovering the deep red boundary tiles trapped beneath. Once those red boundary tiles show open faces, tap the connected pair. The linked blocks slide into your available waiting spaces together. Crimson ants rush out in twin lines, devouring thirty to forty dark red tiles across the outer arches and rapidly dropping the counts on both linked blocks until the bridge shatters and both slots clear out cleanly.
Step 4: Strip the bright yellow core and rotate out the mystery tiles
With the heavy connected barrier broken, your tray opens up significantly. A fresh set of Hidden Boxes becomes active. Move the bright yellow block showing count thirty one and the smaller yellow block with count three into your waiting area. Yellow ants flood the center of the image, tearing through the honey puddle and the bright center core. Watch the numbers count down from thirty one to zero. As the yellow tiles disappear, they expose deeper layers of peach, orange, and white tiles near the top rim of the illustration. Always check the canvas before pulling any mystery box that has recently revealed its color. If you see that its color is blocked behind outer walls, leave it sitting in the tray until the path to that color is totally clear.
Step 5: Carve through the inner peach layers and upper crest
Your canvas now has massive gaps across its lower half, leaving only the upper twin arches of the heart standing. Pull the light peach and soft orange blocks that were freed from the third tray tier. Counts of eighteen, eleven, and thirty five begin ticking downward as lines of ants circle up both outer wings of the drawing. These ants dismantle the thick middle curves, chewing away the barrier that protects the final row of dark red tiles along the top crest. Because your ant paths are now completely wide and unrestricted across the lower board, the ants travel much faster between the nest hole and the food tiles. Your waiting slots will empty rapidly, preventing any risk of a traffic jam.
Step 6: Finish the final red crest tiles to clear the canvas
Only a thin horizontal strip of dark crimson tiles remains suspended at the very top of the grid. Check your tray for the final red blocks, including count twenty six and count fourteen. Pull the first red block into a waiting slot. Crimson ants charge upward through the empty center of the board, eating the left arch of the remaining crest. As soon as that block hits zero and pops out of existence, pull the final red block to sweep the right side of the crest. The last few ants swallow the remaining crumbs, the final block count reaches zero, and the board clears out entirely for a clean victory.
Final Thought
Colony Flow Level 1027 demands that you respect your waiting slots, especially when dealing with the rigid connected blocks and rows of surprise colors. If you run into a jam on your screen or find any step hard to visualize in text, take a moment to watch the complete video walkthrough above this article to see the exact timing in action.
Comments